In earlier posts, Create SAP HANA Trial Account you learned to create a SAP HANA Trial Account.
In this post, you will learn to create a new ‘ABAP on Cloud’ system and connect to it from Eclipse. Log into your trial account and reach to below page by clicking on the subaccount. Here are the steps,
- Go to URL https://account.hanatrial.ondemand.com/
- Log into your account
- Click on Enter your trial account
- Go to subaccount
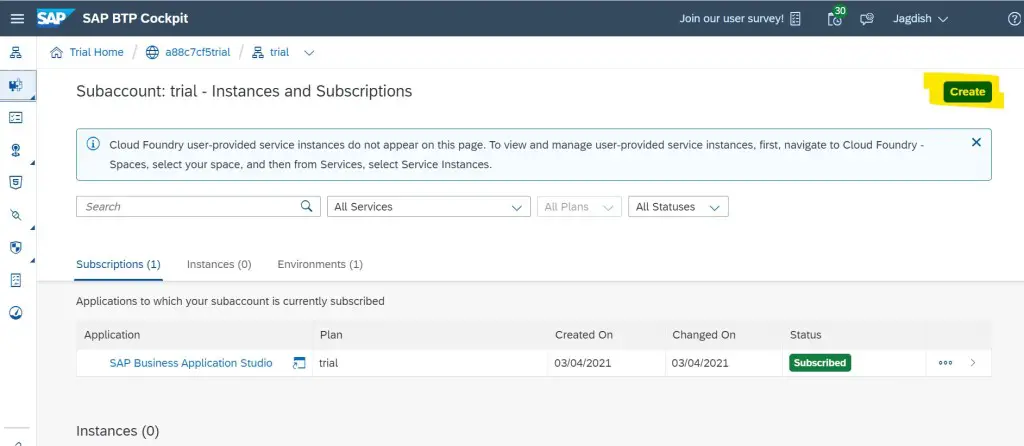
- Go to Instances and Subscription (Click on icon which is 2nd from the top in the left panel).
1. Here, Click on Create.
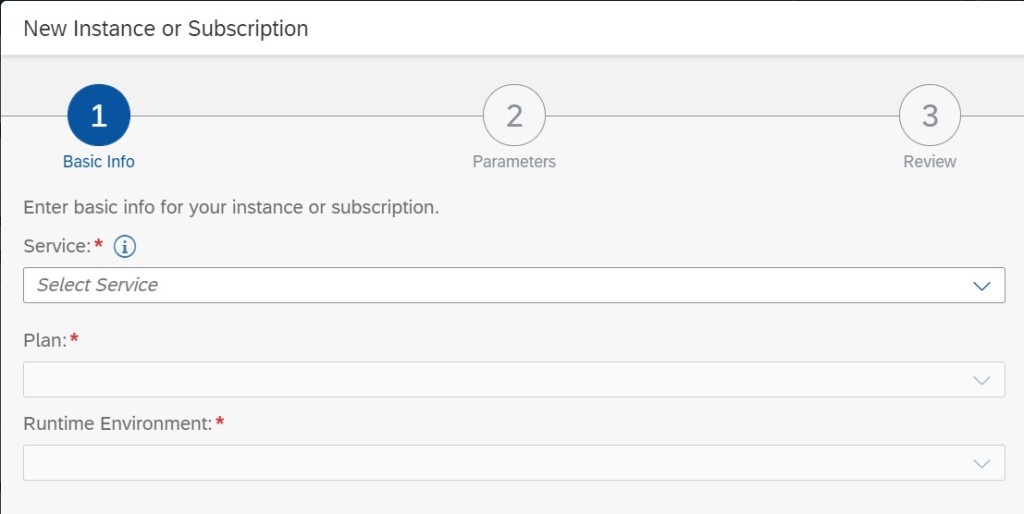
2. New Instance or Subscription window will open in a pop up.
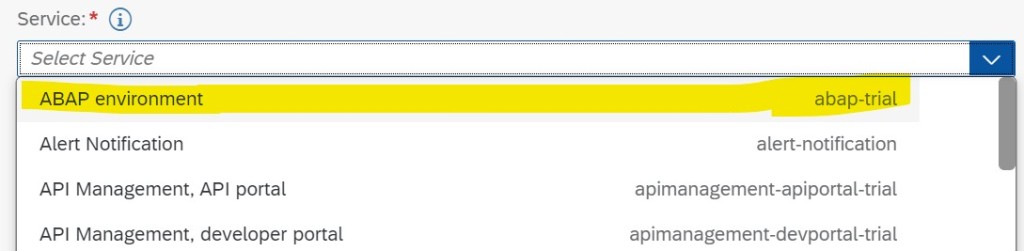
3. From the Service Drop-down Select ABAP environment. Also, take a moment to notice the number of options available here. We can do a lot of things with this trial account.
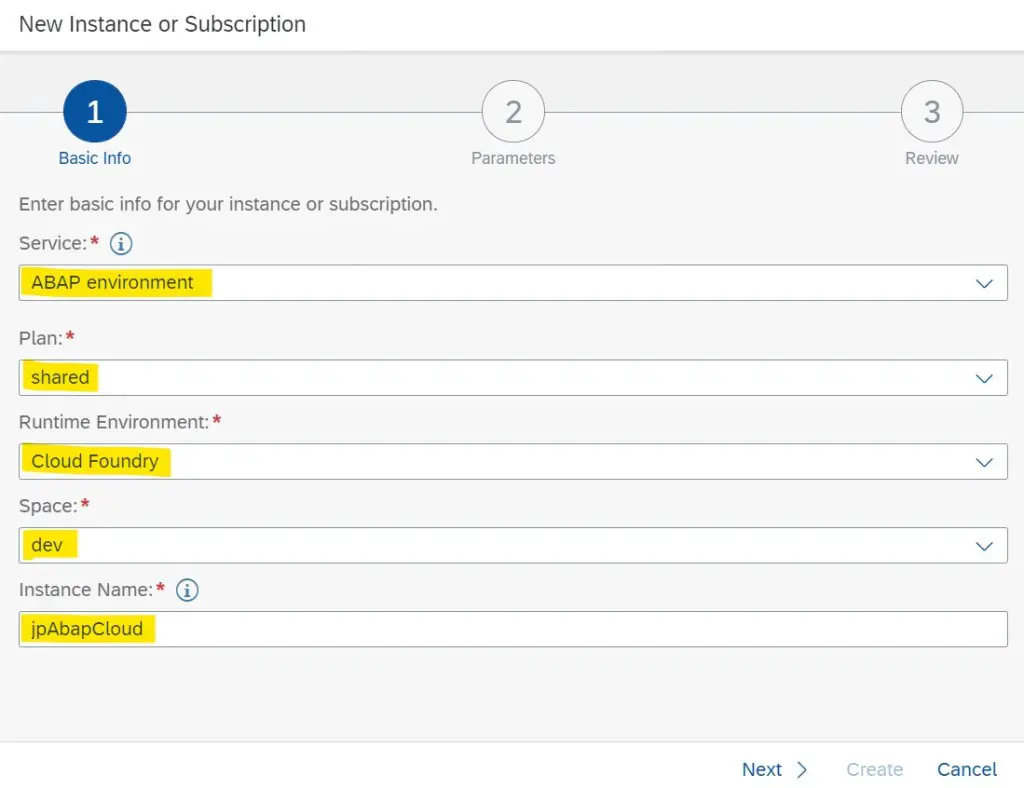
4. Keep the details populated in Plan, Runtime Environment and Space and give an Instance Name. Click Next.
5. Enter the email address that you used to create the trial account, as shown below and click Next.
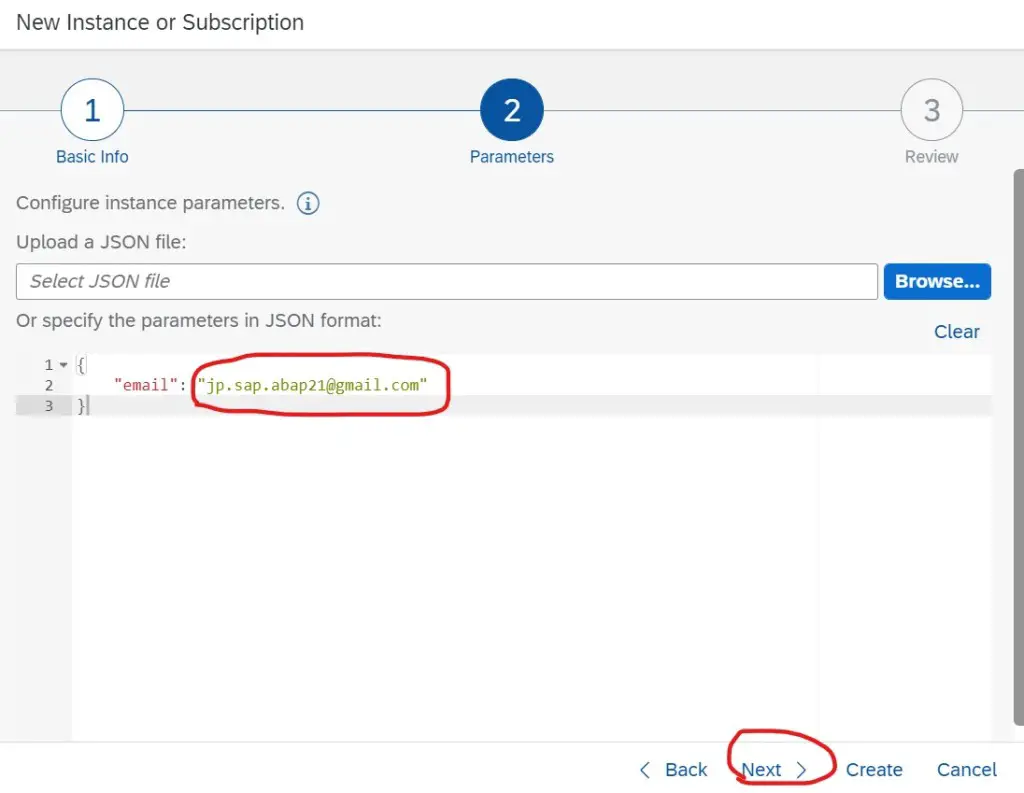
6. Verify the details on this screen then click on Create.
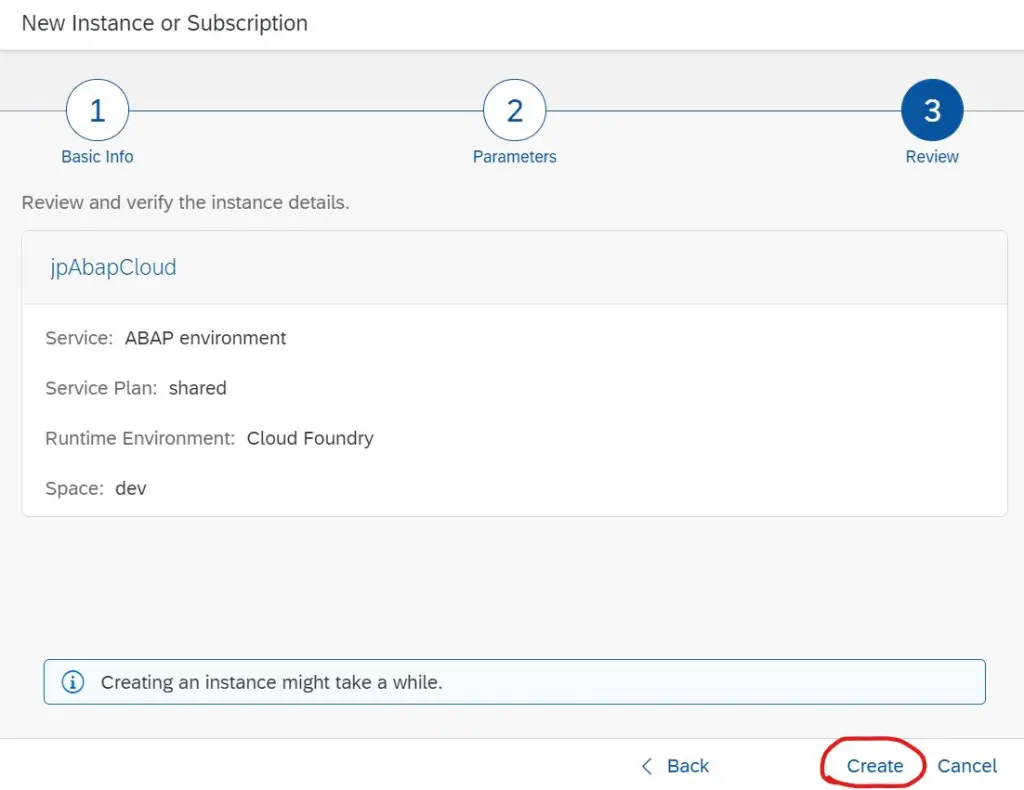
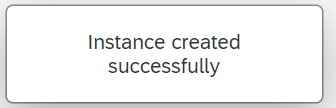
7. If everything goes well, you should see below message on the screen.
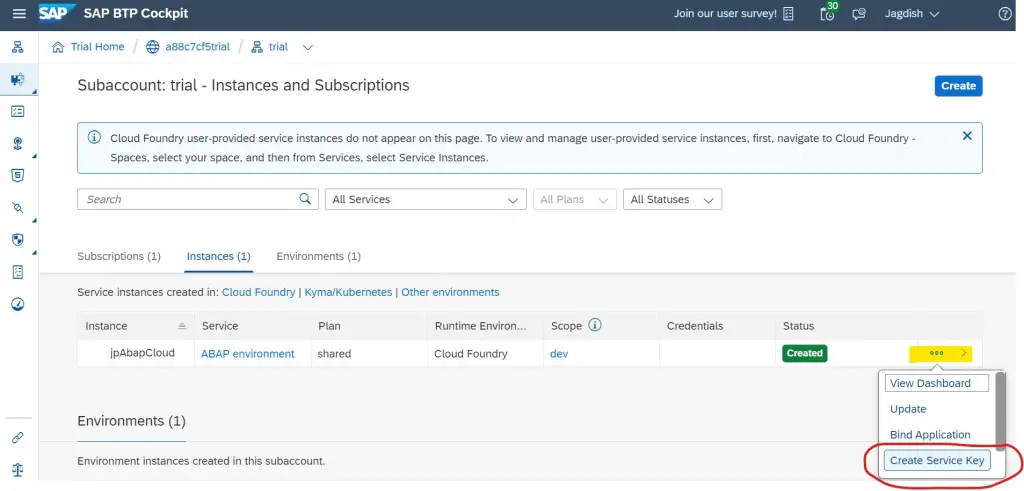
8. In the Instances and Subscription node, you can now see one Instance under Instances Tab – that is your ABAP in Cloud system.
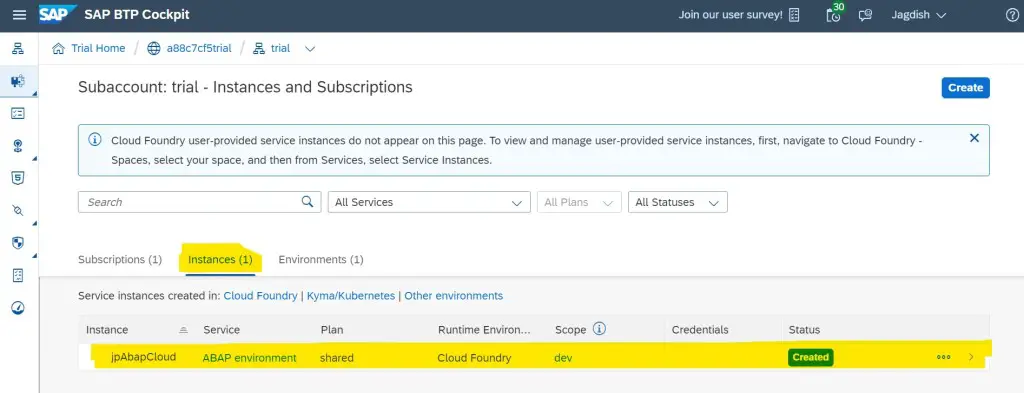
9. Now, before we go to Eclipse, we need to create a Service Key. So click on the 3 dots (…) highlighted and select Create Service Key.
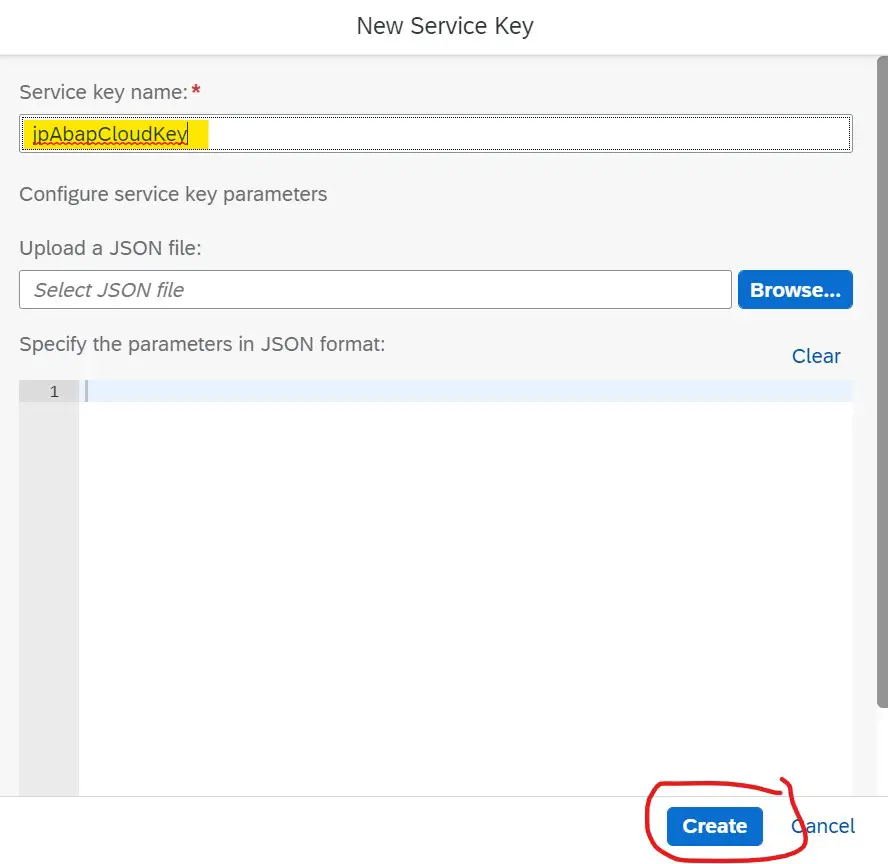
10. Give a name to the service key. Again, don’t worry about the JSON here as you don’t need to create it. Just click on Create and it will be created for you.
11. Once it is created, you should get below message.
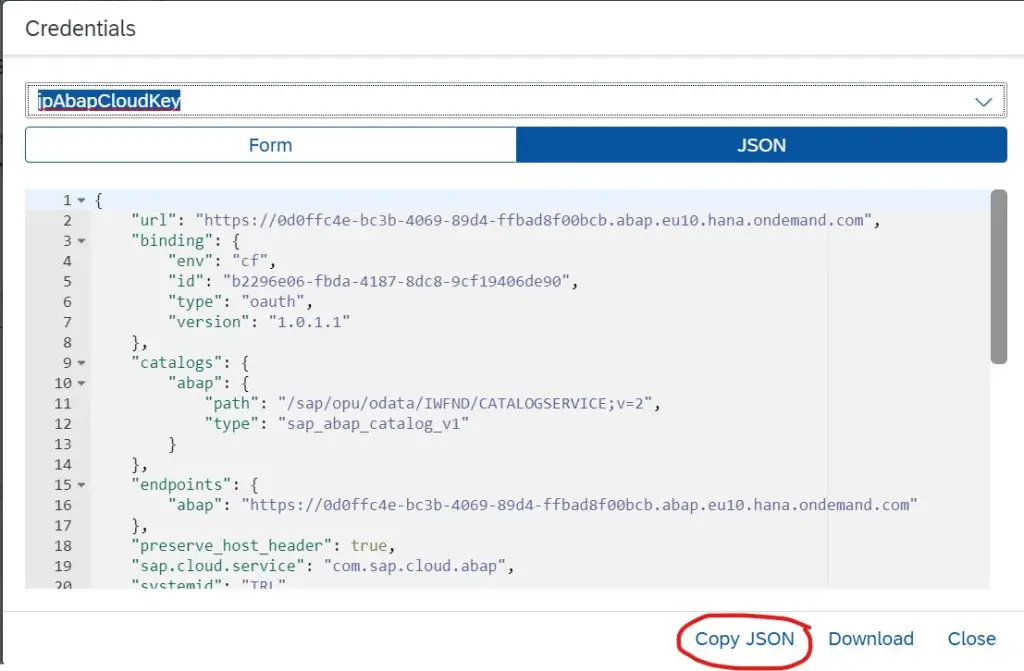
12. Go to the Service Key and click on the Service Key Name.
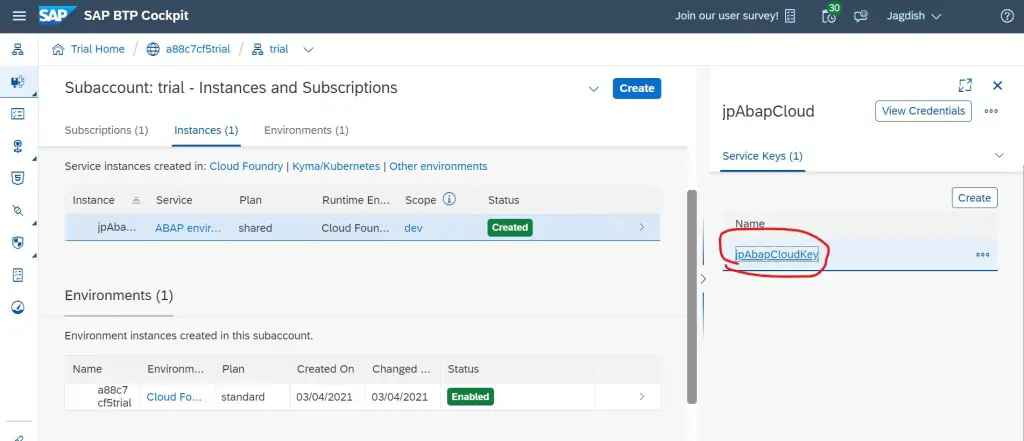
13. Copy the JSON file by clicking Copy JSON button.
Now, we will connect to this system from Eclipse. At this point if you realize that you don’t have eclipse with ADT(ABAP Development Toops) – check out post Install Eclipse for ABAP Development and install eclipse. Then follow next steps.
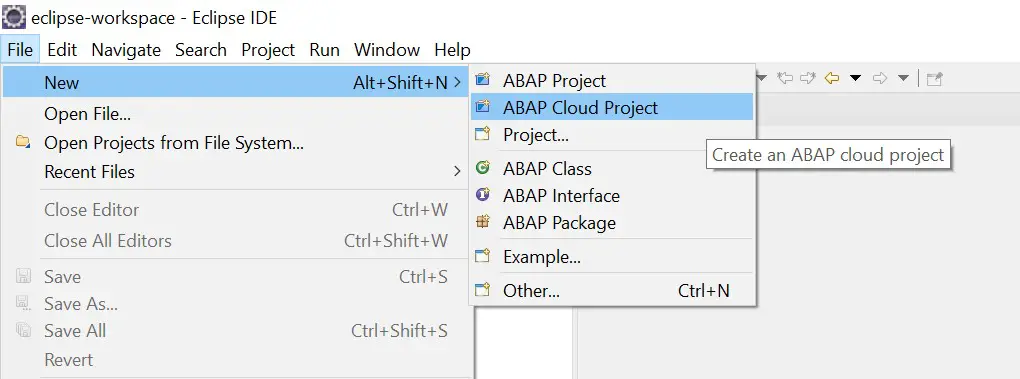
14. Start Eclipse and go to File->New->ABAP cloud Project.
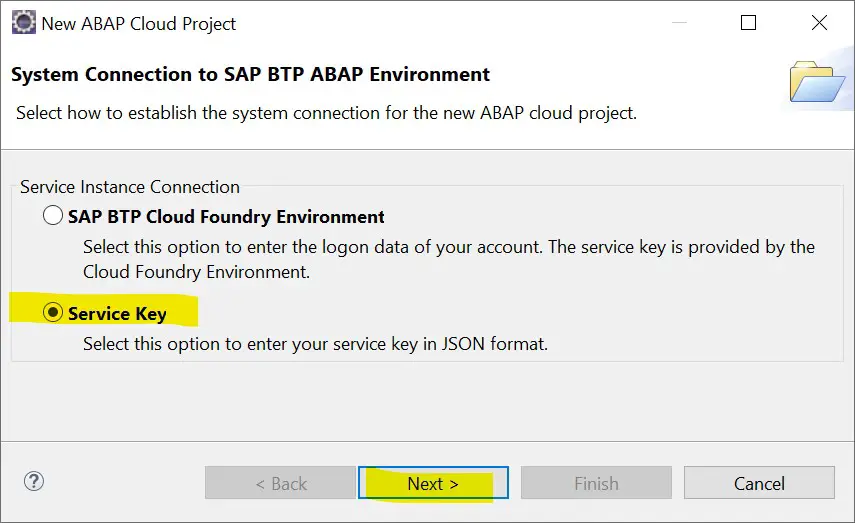
15. Select the radio button Service Key as we have copied the service key already. Click Next.
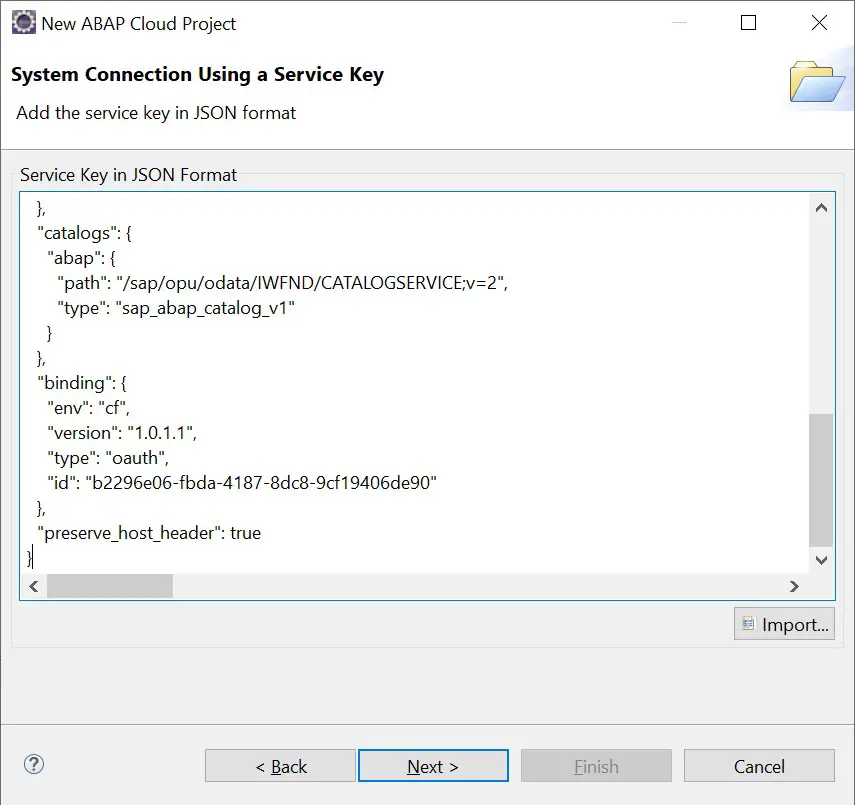
16. Paste the copied Service Key. Click Next.
17. Now, you will need to login to the HANA trial account. So select Open Logon Page in Browser.
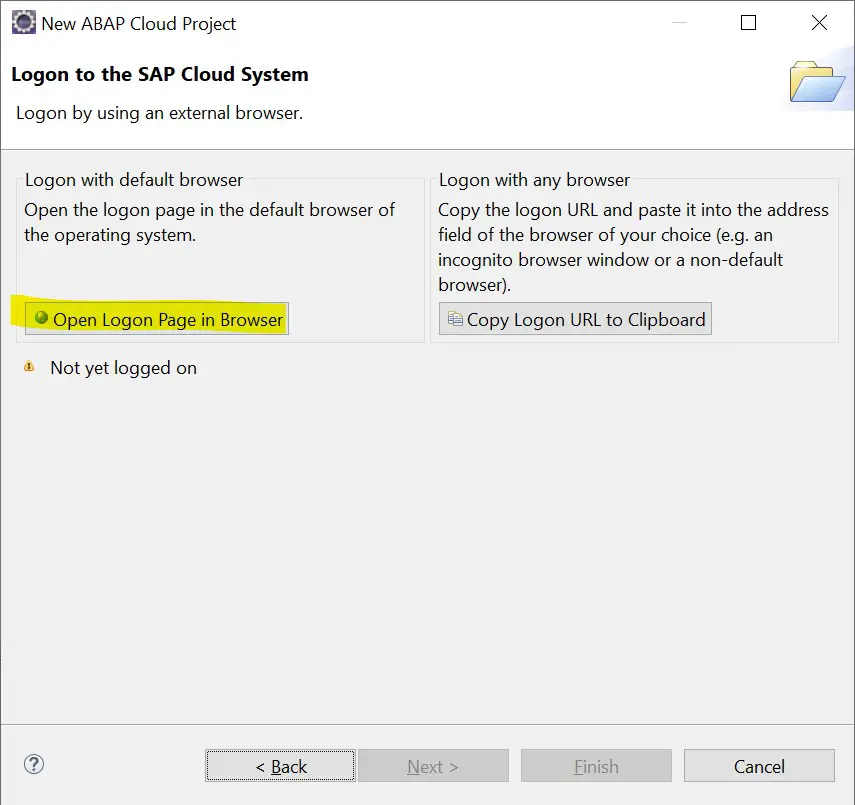
Important: As you have already logged in to follow the steps, this time it will log you in automatically. You don’t have to provide the credentials.
Next time you want to use this project from Eclipse, you don’t need to log into the Trial home page. Just come to Eclipse and double click on the project, and you will be able to figure it out.

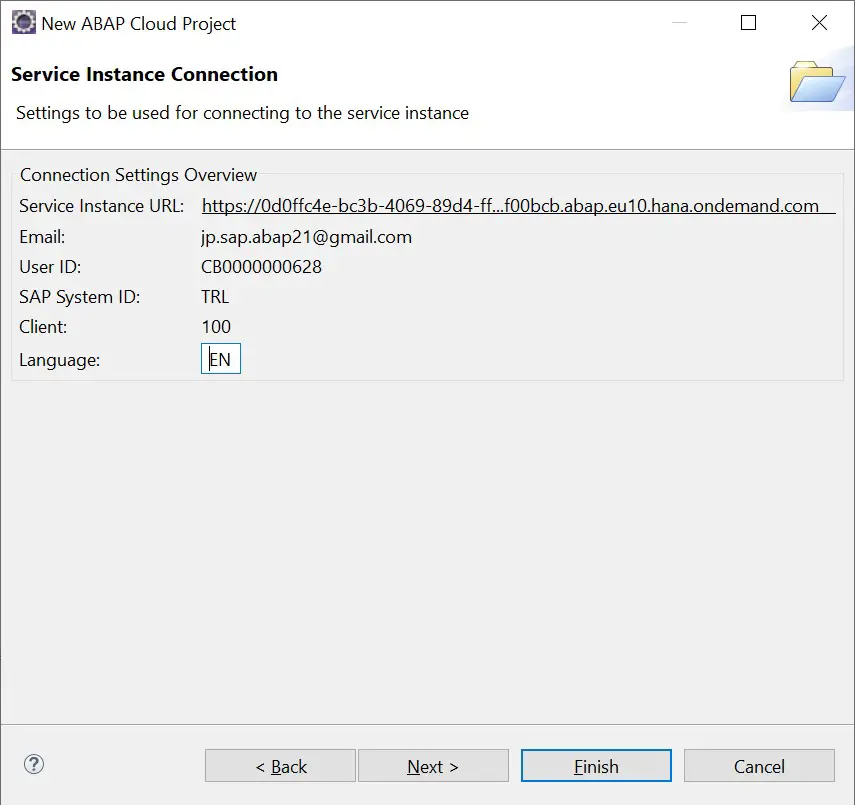
18. So back to our steps. Post login this screen will appear. Click Finish.
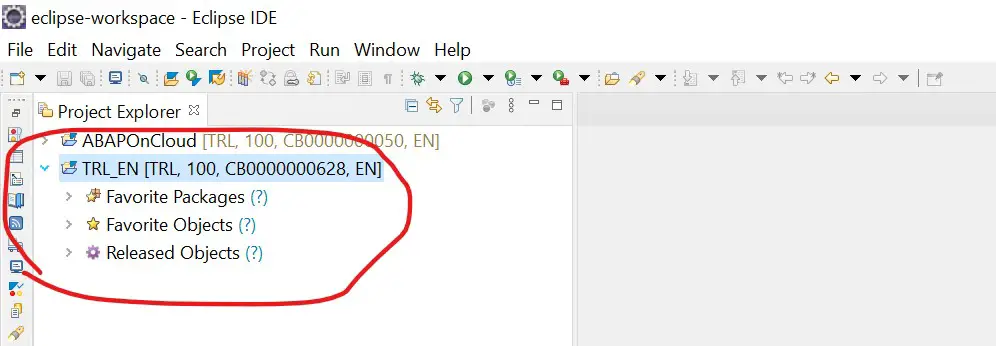
19. In Project Explorer you can see a system added. You are good to go.
20. Try creating a class. Right click on the project, New->ABAP class.

You are all set to create classes, CDS Views, AMDPs etc.
Note that as this is a trial system, you will not be able to create/execute programs, access SAPGUI transactions or most of the standard table data. But you simply have to create custom tables and start playing with all the new types of objects that SAP ABAP Developer should be able to create.
If you like the content, please subscribe…

How to access SAP HANA cloud in local environment
LikeLike