This post will get you started with using Eclipse for ABAP development. If you do not have Eclipse, please follow the post Install Eclipse for ABAP Development and then come to this post.
In Eclipse, a project means connection to ABAP system. It can be a system in cloud or on premise. If you have set up a system already on your laptop/desktop, it can be imported here.
Typically, any ABAP project contains following.
- Project Name
- System data (ID, Client, User)
- Default Language
- Favorite Packages (Optional)
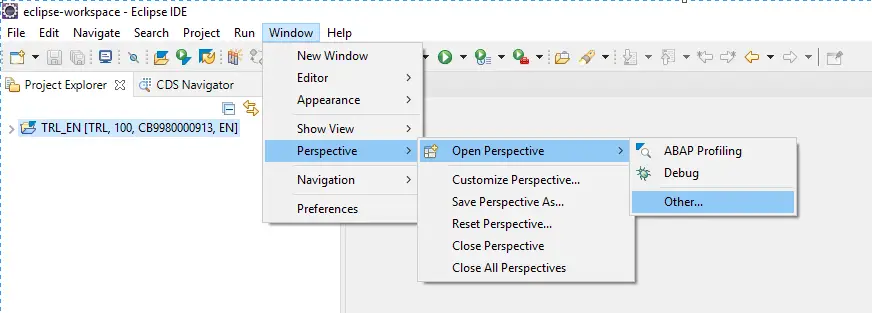
To create a project, start eclipse and open ABAP perspective. To open the ABAP perspective, chose Windows->Perspective->Open Perspective->Other.
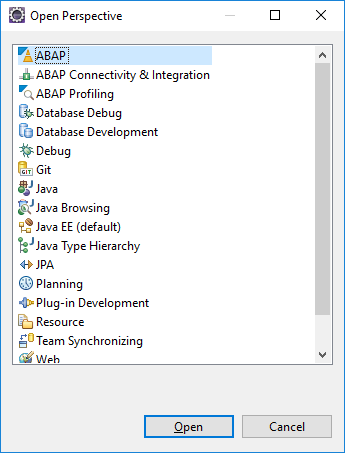
Select ABAP.
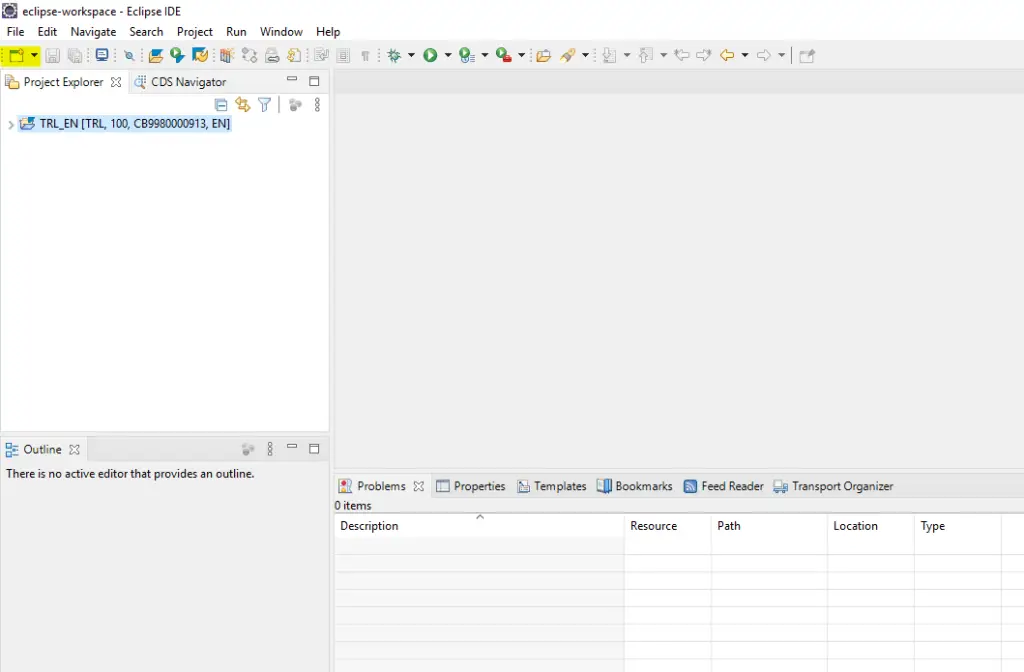
You will be able to see ABAP perspective as below.
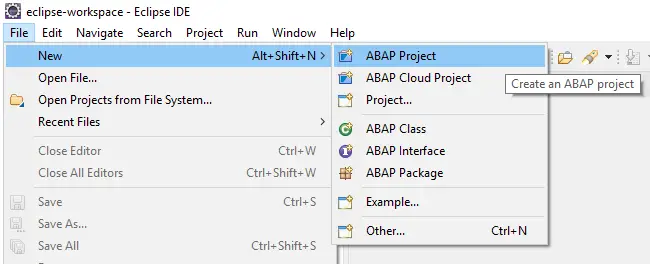
Chose File->New->ABAP Project to create a new project.
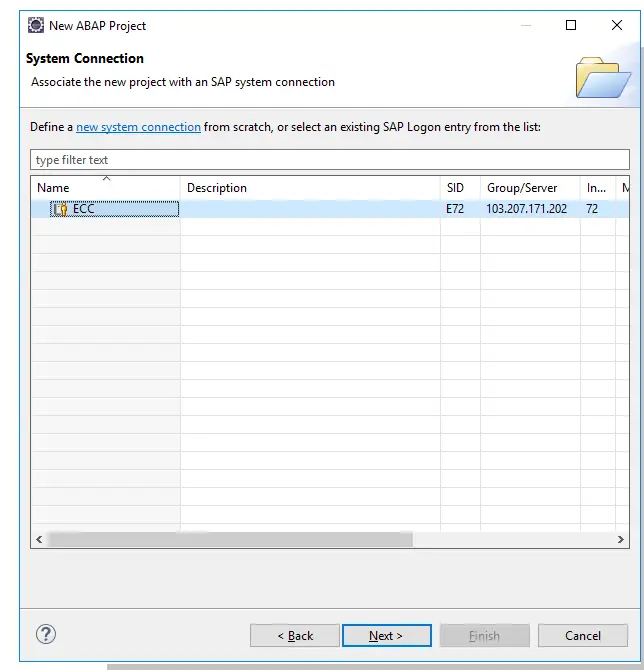
The existing connections from SAP GUI will appear to chose from. Chose the system and click on Next.
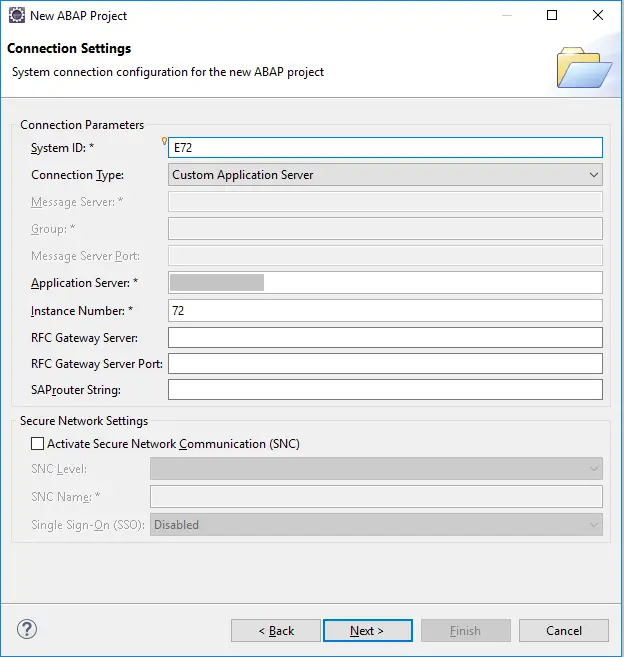
Verify the details and click Next.
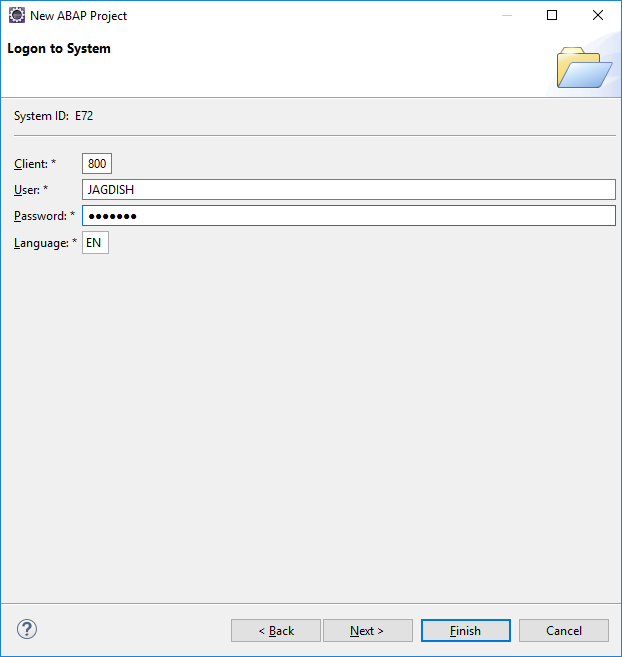
Provide User Name and Password details and click on Finish.
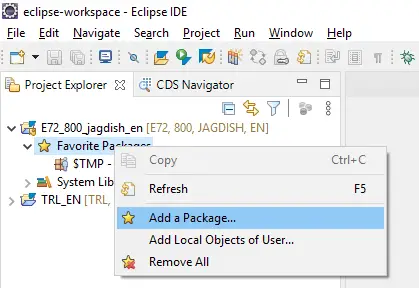
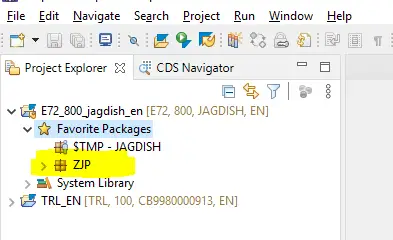
The created project will appear in the view ‘Project Explorer’. Double click on the project to expand the node. To add a favorite package, right click on the node Favorite Packages and select Add Package…
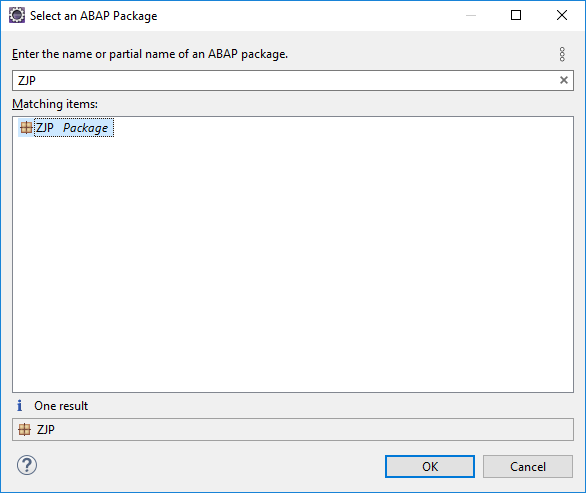
Type in the package that you want to add, select it once it appears in Matching items and then click.
The package will appear and can be used for quick access to your developments.
In the next post, we will learn about the properties that we can set up for pretty printer, code completion etc., and we will be ready to start with the actual development on HANA.
Visit ABAP on HANA series for Tutorials on CDS, AMDP, Eclipse, and ALV IDA.
If you like the content, please subscribe…
